Every morning it is the same thing. You are almost out the door and then you cannot find your keys. You check the counter, the couch, your coat pocket, the bathroom. Three minutes gone, stress level up, and you are already running behind before the day has even started. I did that routine for two solid years in my last apartment before I finally got annoyed enough to actually fix it.
The fix was not complicated. It was a single wall-mounted key and mail holder next to my front door, and it took about twenty minutes to hang. I now use the Lwenki Key Holder for Wall, and it has been on my wall for over a year without budging. My keys go on it the second I walk in. My mail lands in the slot instead of on the kitchen counter. My sunglasses and dog leash hang right there too. The entryway went from the most chaotic spot in my apartment to the most organized one. This guide is going to walk you through setting it up the same way, even if you have never hung anything on a wall before.
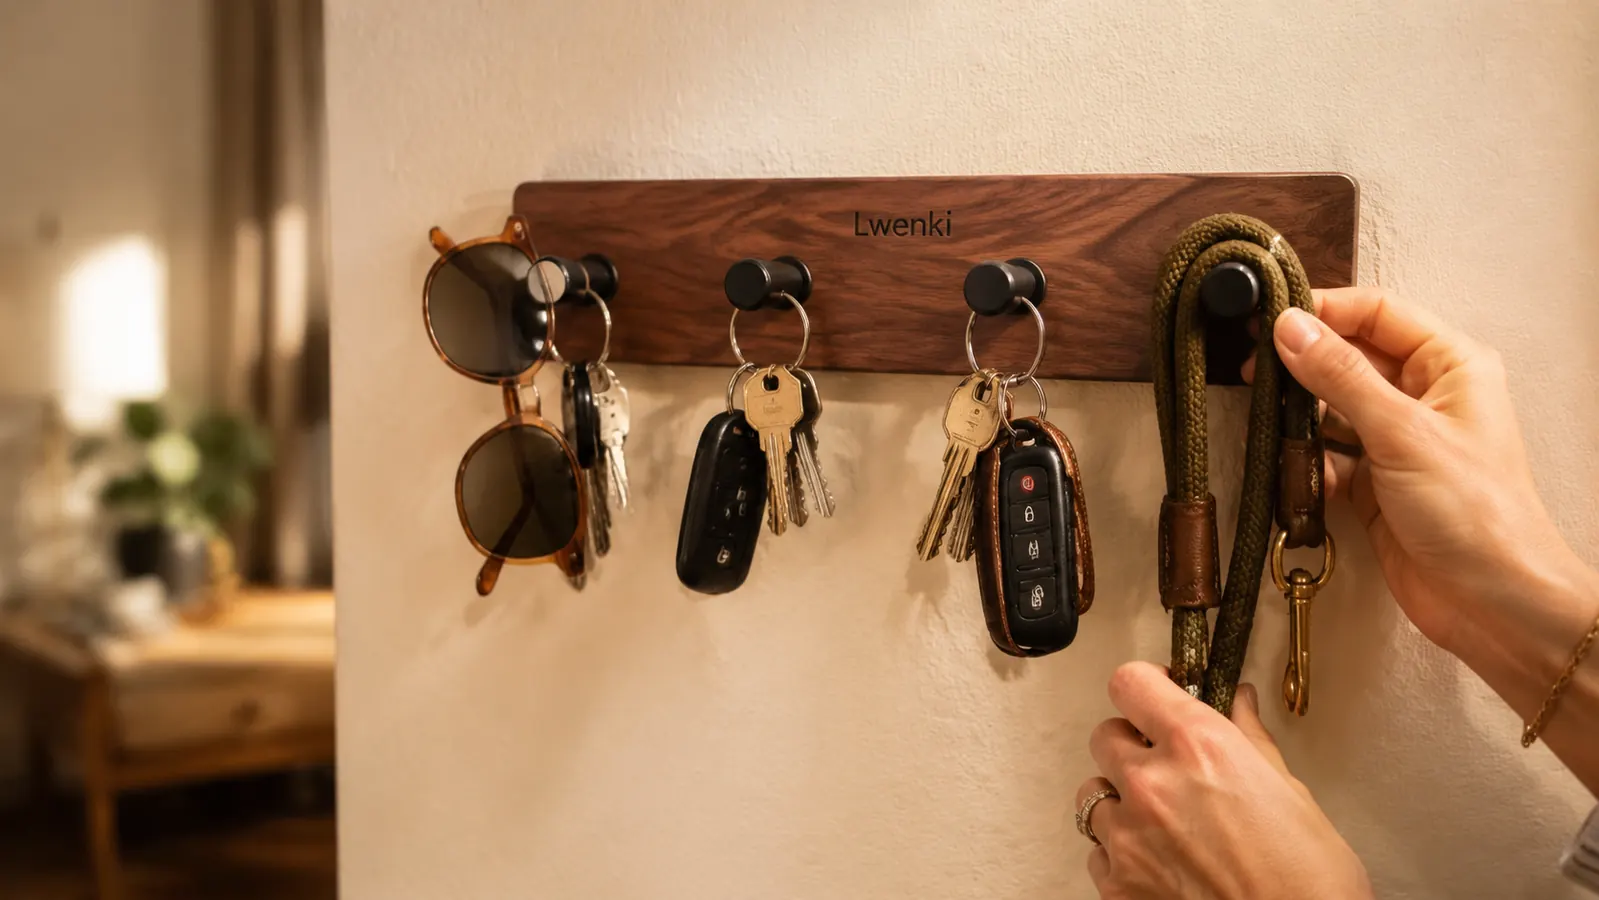
Stop playing the morning key game. Here is the organizer that ends it.
The Lwenki Wall Key Holder has a generous shelf, four to six sturdy hooks, and a wide mail slot, all for under fifteen dollars. More than 8,000 people have rated it 4.7 stars. It mounts with included hardware and takes about twenty minutes to hang.
Amazon Check Today's Price on Amazon →Step 1: Pick the Right Spot on Your Wall
Before you touch the packaging, spend five minutes figuring out exactly where this organizer is going to live. The wrong spot will make it inconvenient enough that you stop using it within a week. The right spot makes it feel automatic.
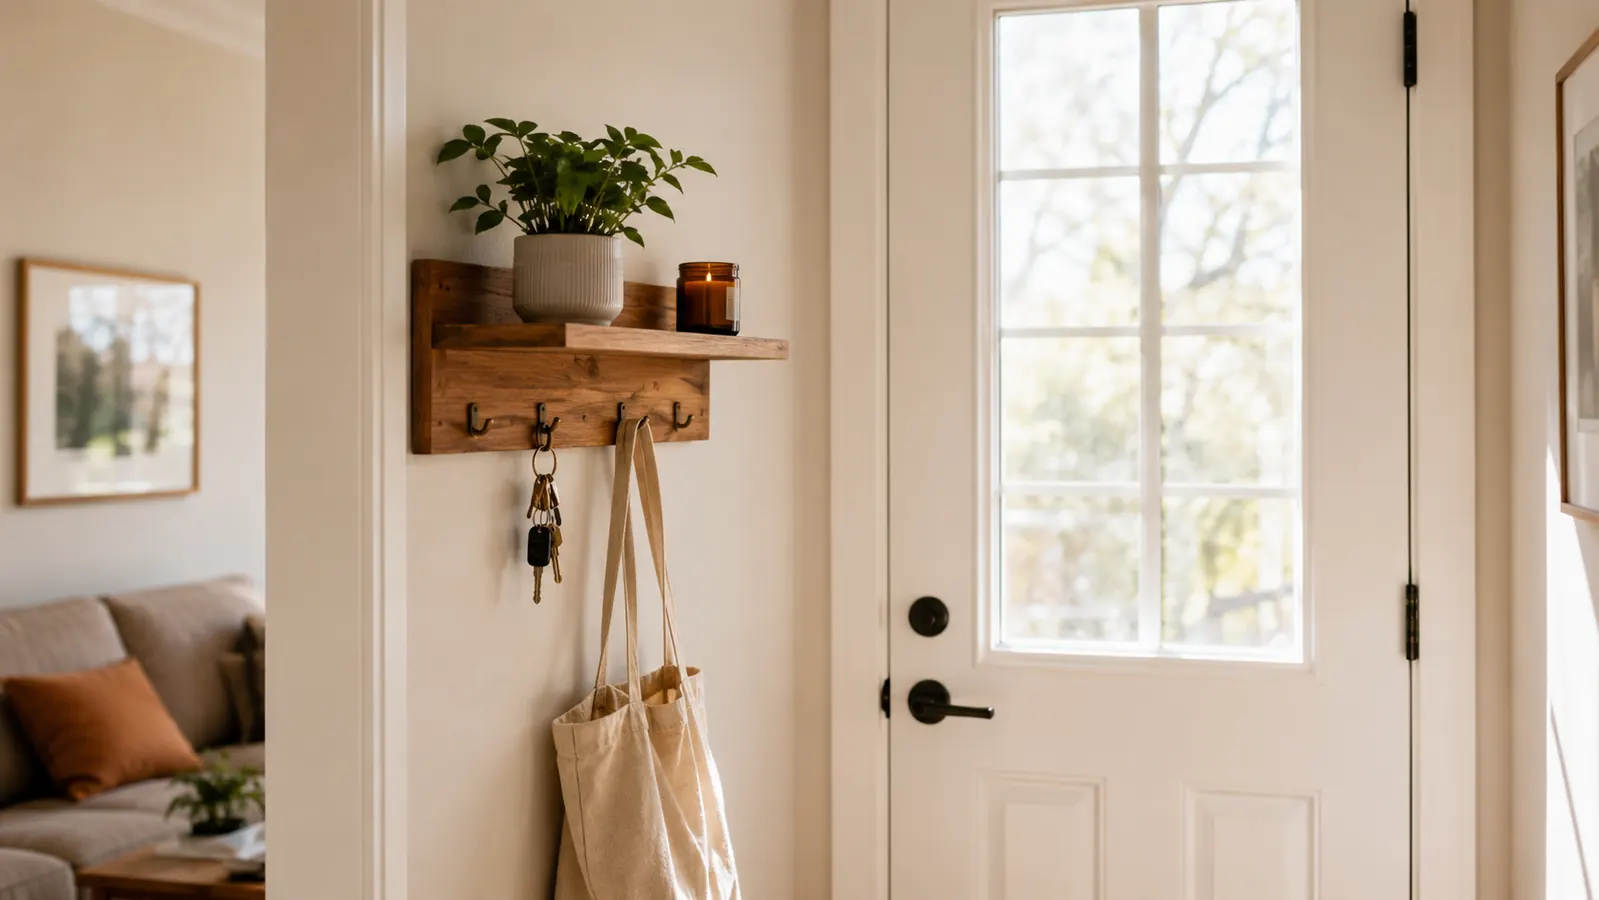
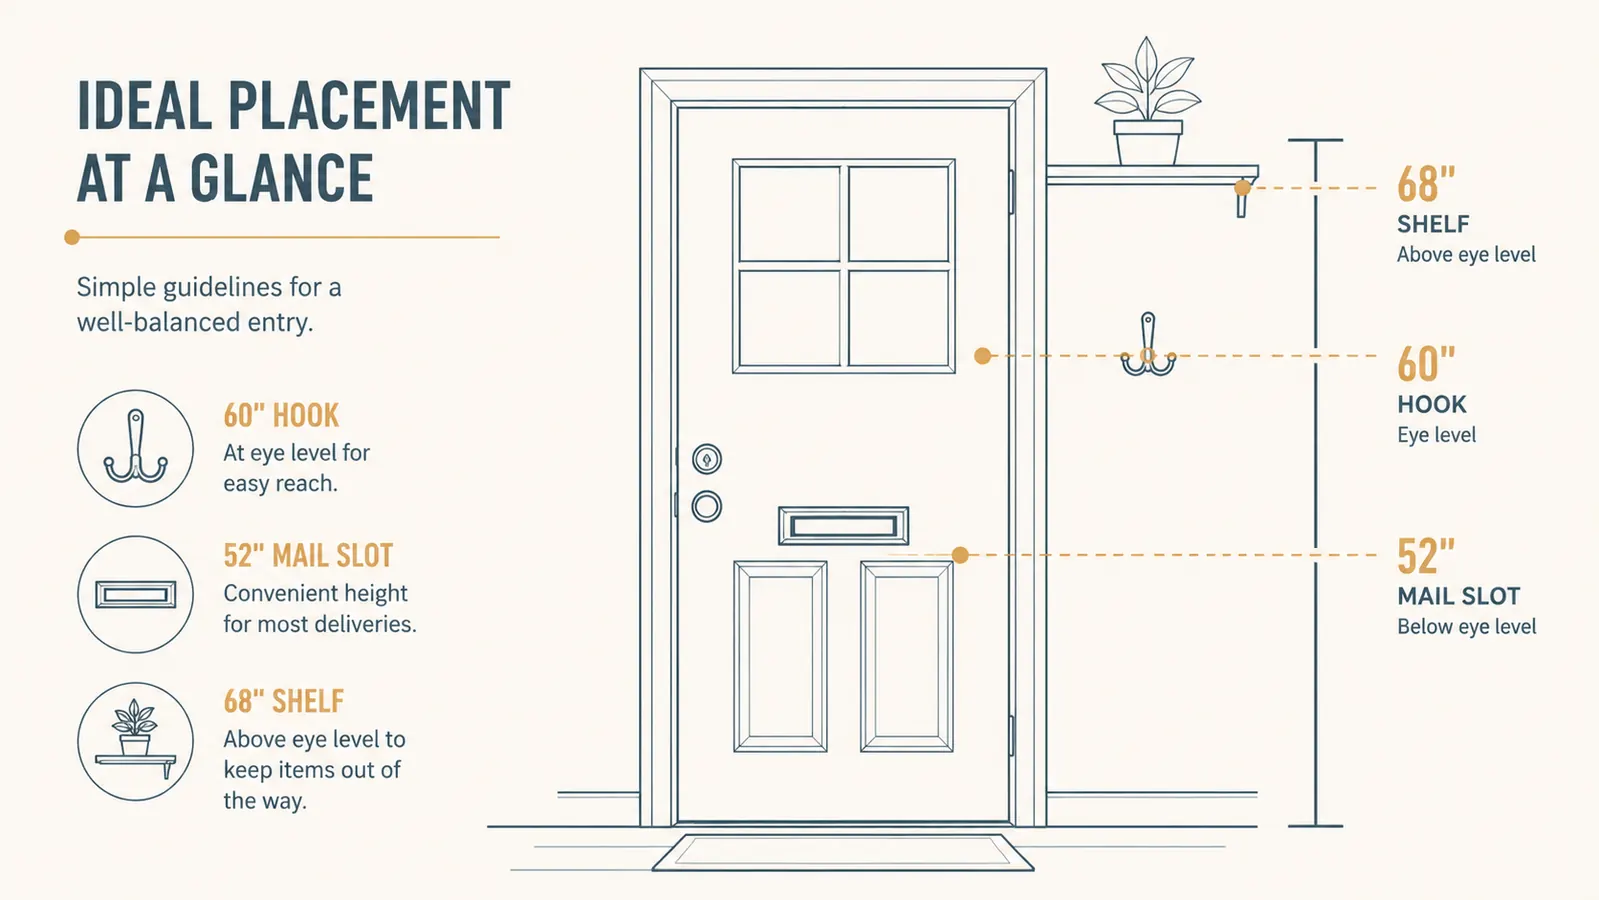
The ideal location is within arm's reach of your front door, on the wall beside it or just inside the entryway. You want to be able to hang your keys without taking more than two steps inside. Eye level is best for the hooks, which means roughly fifty-eight to sixty-two inches from the floor for most adults. If you share your space with someone significantly taller or shorter, aim for sixty inches as a comfortable compromise. Avoid putting it behind the door swing or in a spot that gets blocked when the door is fully open. You will forget it is there.
If you are in a rental and worried about your walls, check your lease. Most allow small nail holes. The Lwenki organizer mounts with two screws and can also be hung on a single sturdy picture hook if you prefer. I used the included screws and drywall anchors because I wanted it rock solid, and it has not moved a millimeter. Also consider whether you get afternoon sun or harsh direct light on that wall. The Lwenki's finish held up fine for me through a full summer, but if your entryway wall gets hours of direct sunlight through a large window, a shaded spot will serve any organizer better over the long term.
Step 2: Gather Your Tools and Check What Is in the Box
The Lwenki comes with mounting screws and wall anchors already in the box, which I appreciated because it saved me a trip to the hardware store. Before you start drilling, pull everything out and take stock of what you have.
You will need a pencil, a level (a small torpedo level costs about three dollars and is worth having), a drill or a hammer, and a measuring tape. If your wall is drywall with no stud where you want to hang it, the included anchors will hold the organizer just fine. The Lwenki is not heavy, and the shelf is not meant for anything over a few pounds, so anchor mounting is completely adequate. If you happen to land on a stud, even better. Use a stud finder app on your phone or the old-fashioned knock-and-listen method. When you knock on drywall and hear a hollow thud, there is no stud. When the sound goes solid and thudding stops, you found one.
Step 3: Mark, Level, and Mount It
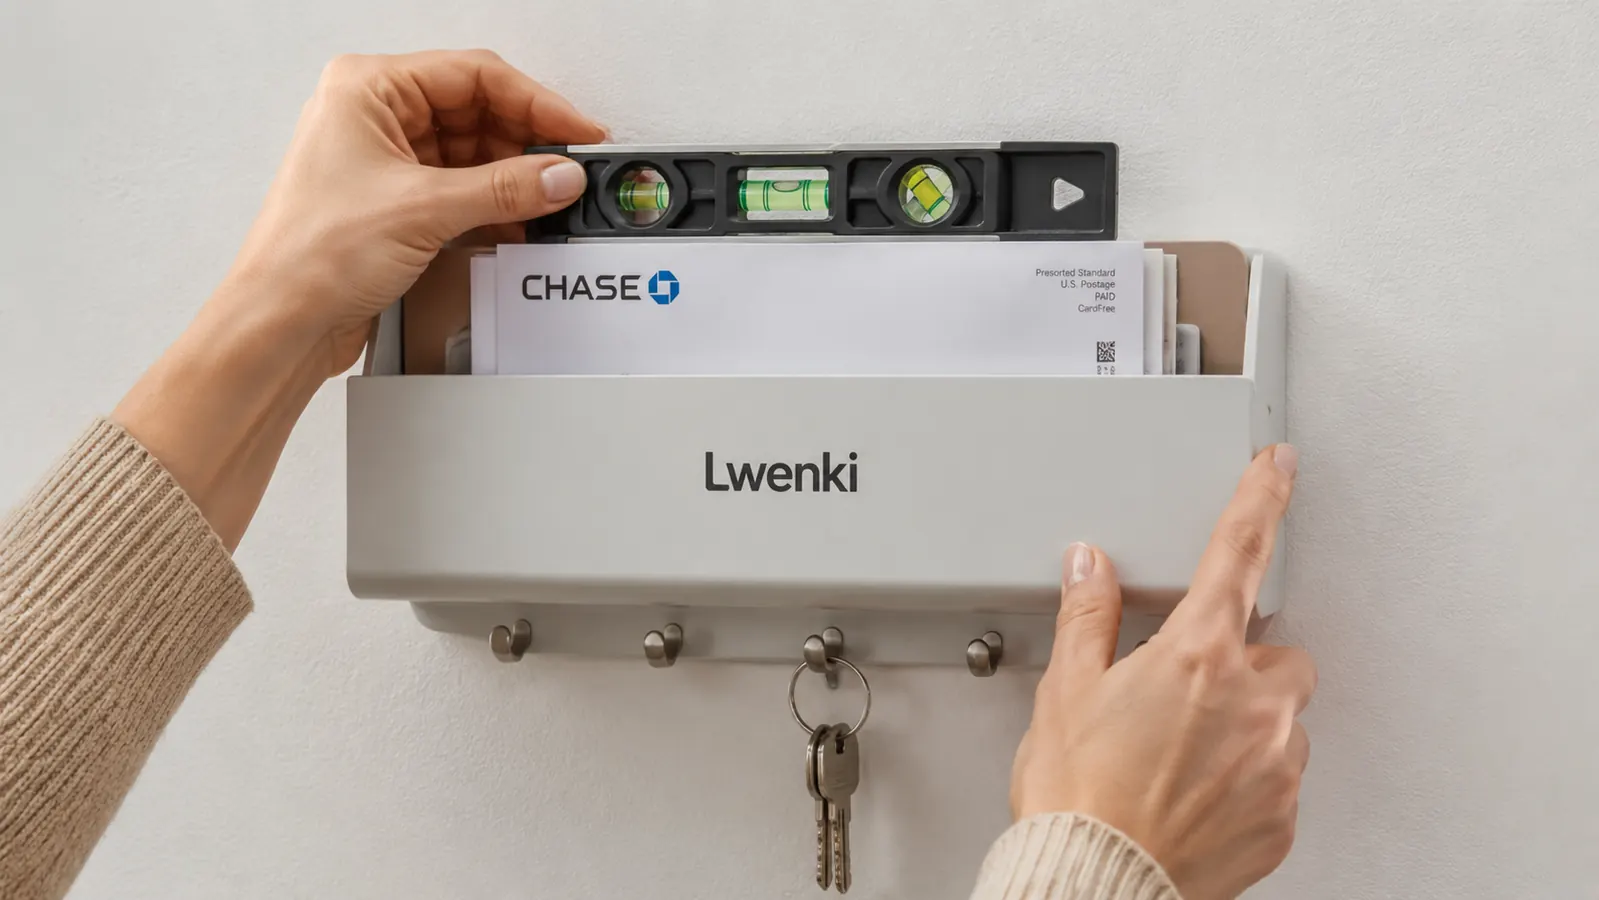
Hold the organizer up to the wall at your target height and use a pencil to mark the two mounting holes. Pull the organizer away and double-check your marks with a level. This step takes thirty seconds and saves you from hanging a tilted organizer that will drive you quietly insane every time you look at it.
If you are using the drywall anchors, tap them into the wall at your pencil marks with a hammer until they are flush. Then drive the screws partway in, hang the organizer on the screws, check one more time with your level, and tighten everything down. The whole process from pencil marks to done takes about ten minutes. If you have never used a drywall anchor before, there are dozens of thirty-second video demonstrations online. It is genuinely not scary once you have done it once.
Step back and look. The organizer should sit flat and firm against the wall, with no wobble. Give it a gentle tug from the bottom. If it does not move, you are good. Now give the hooks a quick pull one by one to confirm they are solid. The Lwenki's hooks are cast into the unit rather than screwed on separately, which is one of the reasons I trust it with a full set of keys and a dog leash without any concern.
Step 4: Assign Every Hook a Job Before You Hang Anything
This is the step people skip, and it is the reason some entryway organizers end up being a jumbled mess of stuff within two weeks. Before you hang a single key, decide what each hook is for. Write it down if that helps.
A simple system that works well: one hook for your everyday keys, one hook for a spare set, one hook for your partner's keys (or a visiting family member's), and one hook for whatever you grab most often besides keys, whether that is a dog leash, a small umbrella, a reusable grocery bag loop, or a lanyard. If you have kids, give them their own dedicated hook at a height they can reach. The Lwenki's hooks are fixed but generously spaced, so there is room for keychains and fobs without everything tangling together.
The mail slot on the Lwenki is wide enough for standard letter mail, flat packages, and small padded envelopes. I use it as a one-in, one-out system: incoming mail lands in the slot, and I clear it every evening. If you let it pile up for a week, it gets unwieldy fast. The slot itself is not bottomless, so treat it as a staging area rather than long-term storage. Anything that needs to be paid, filed, or recycled should leave the slot within a day or two.
Assign every hook a specific job before you hang a single key. That one step is the difference between an organized entryway and a prettier version of the chaos you already had.
Step 5: Build the Habit That Makes It Stick
The organizer is up. The hooks have assignments. Now comes the part that actually determines whether this works long-term, which is the habit of actually using it consistently.
For the first two weeks, your brain will still reach for the old behavior. You will walk in, set your keys on the counter, and not even think about the organizer. The fix is a simple trigger: every time you touch your front door, look at the organizer. That one visual cue is enough to start rebuilding the habit. Some people put a small sticky note on the inside of the door for the first week that says just "keys." It feels silly, but it works. Others move something they always carry, like their phone charger or sunglasses, to the organizer shelf for a few days so they have a reason to look at it the moment they walk in.
The other half of the habit is leaving the house. Before you close the door, you should be grabbing your keys from the exact same hook every single time. When your keys are always on the same hook, reaching for them becomes as automatic as reaching for a light switch. After about three weeks, it stops feeling like a system and starts feeling like just how you live.
What Else Helps Once the Key Holder Is Up
The Lwenki wall organizer does the heavy lifting, but a truly calm entryway has a couple of supporting players. None of these require a renovation or a big budget, and none of them need to happen on day one.
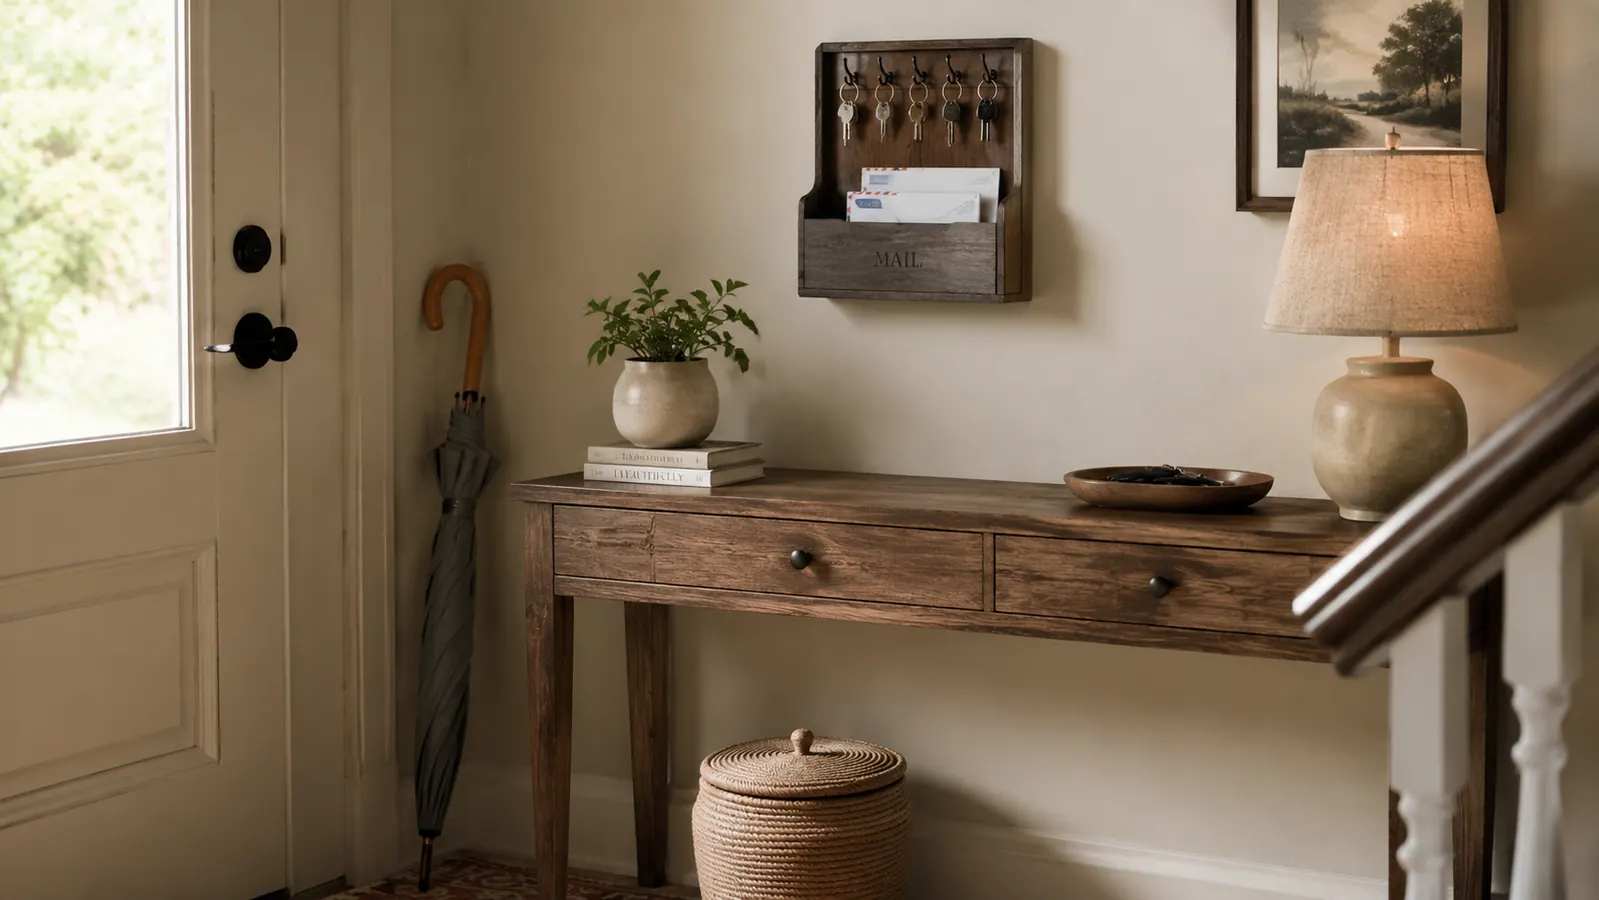
A small basket or bin on the floor directly below the organizer catches shoes, umbrellas, and anything else that needs a home near the door. This is especially useful if you have kids who come in and immediately shed their backpacks and sneakers. The basket makes dropping stuff there feel like tidying up rather than making a mess. A narrow console table under the organizer is another option if you have a slightly wider entryway. It gives you a surface for a bowl of change, a small plant, or a hand sanitizer bottle without sprawling into the rest of the space.
Good lighting matters more than people realize. If your entryway is dark, you will avoid it and you will have a harder time actually seeing what is on the organizer. A plug-in sconce or even a battery-operated puck light on the wall nearby can make the whole space feel more welcoming and functional. It does not have to be permanent or expensive. I added a small rechargeable motion-sensor light near my door for under twelve dollars and it made a noticeable difference in how often I actually used the entryway as intended rather than dropping things wherever I happened to be standing.
If mail is a recurring problem because you have multiple people in the household all getting mail, consider adding a small accordion folder or a set of desktop file pockets on a nearby shelf or table. Each person gets a section. The Lwenki's single slot works great for one or two people. For a household of four or more, you may want a dedicated mail sorting spot nearby in addition to the primary slot, so the slot never becomes a landfill of overlapping envelopes.
The goal is not a magazine-perfect entryway. It is an entryway that works for the way you actually live, where the most-used items are within reach the moment you need them. The Lwenki gives you that foundation for well under twenty dollars, and once the habit clicks, it runs on autopilot. If you want to go deeper on why this kind of small-change-big-payoff system works, the article on 10 reasons a wall key holder stops morning chaos is worth a read. And if you want a thorough breakdown of the Lwenki's build quality, hook weight limits, and how the mail slot dimensions compare to other options, check out the Lwenki key holder review before you buy.
Ready to never play the key-hunting game again?
The Lwenki Wall Key Holder is the fastest entryway fix you can make. Install in twenty minutes, start using it the same day. Over 8,000 buyers and a 4.7-star average say it delivers on that promise. Check the current price on Amazon and see why it consistently sells out.
Amazon Check Today's Price on Amazon →