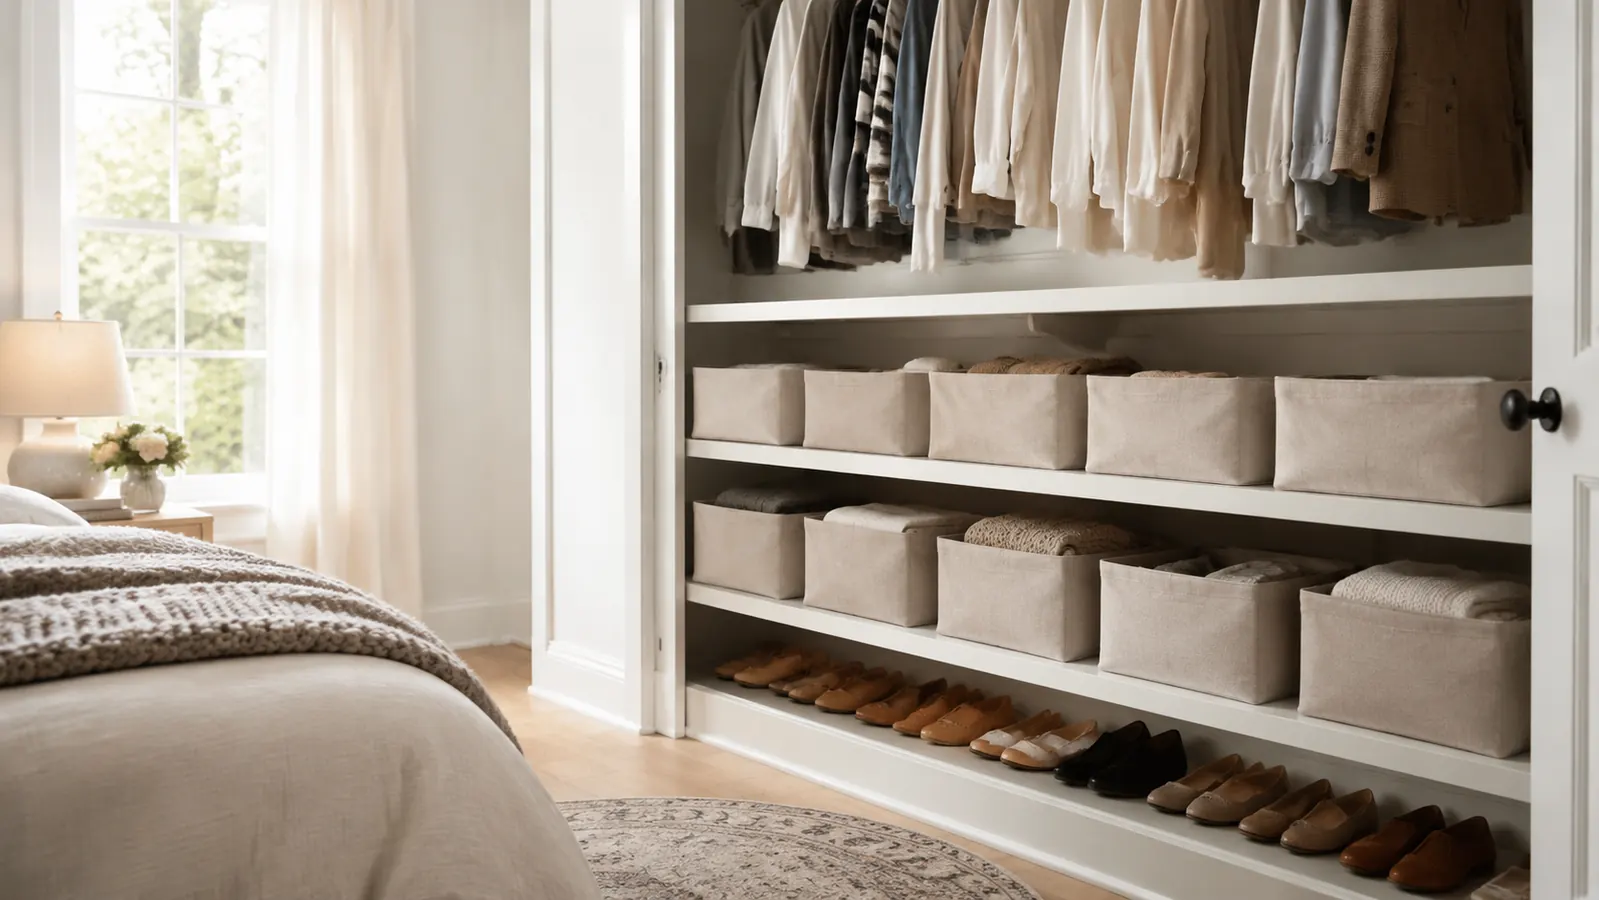
If your closet shelves look like a yard sale that lost a fight, you are not alone. I spent years shoving things up there and hoping for the best. A stack of jeans would slide, a pile of extra blankets would avalanche, and anything I put on the top shelf was basically gone forever. I tried folding more carefully. I tried rolling. I tried those little stacker shelf things that wobble the moment you touch them. None of it lasted more than a week. The problem was not me. The problem was that I did not have anything to contain the categories. Once I started using bins, specifically the Homsorout Closet Organizer Bins, the whole shelf stopped fighting me. Everything had a home that held its shape even when I grabbed from it in a hurry.
This is a practical, step-by-step guide to doing exactly what I did. You do not need a closet renovation or a Pinterest budget. You need a clear process and the right containers. Follow these steps in order and your shelves will look different by the end of the afternoon. I have also included tips on what to do after the setup so the system actually lasts longer than a month.
Your closet is one afternoon away from actually working
The Homsorout 6-pack gives you enough bins to tackle a full standard closet in one session. Rated 4.7 stars by over 1,500 buyers who finally got their shelves under control. Handles included, no assembly required.
Amazon Check Today's Price on Amazon →Step 1: Clear Everything Off the Shelves First
I know this feels like going backwards, but do it anyway. Pull everything off every shelf you plan to organize and put it all on the bed. Yes, all of it. You cannot figure out how many bins you need or what sizes make sense until you can see the full volume of what you are working with. This step also forces the decision you have been putting off: what actually belongs in this closet? When you see everything spread out on the bed, some of it will obviously belong somewhere else or in the donation box. A hoodie that no longer fits you, a gift bag you have been saving for five years, a travel umbrella that lives in neither your coat closet nor your car. This is the moment to relocate those things.
While the shelves are empty, wipe them down. A damp cloth takes about three minutes and makes the whole project feel more deliberate. You are not just rearranging clutter. You are starting a system. Dirty shelves undermine the motivation you need to finish, so take the three minutes.
Sort what remains on the bed into loose groupings: folded clothing, accessories, extra linens, workout gear, seasonal items you only touch twice a year, and anything that needs a new permanent home elsewhere in the house. Do not overthink the categories at this stage. You are just looking for natural clusters. Those clusters will become your bins.
Step 2: Measure Your Shelves Before You Buy Anything
This is the step most people skip and then regret. Grab a tape measure and write down three numbers for each shelf: depth front to back, width side to side, and the clearance height to the shelf above it. Closet shelves vary more than you think. Standard wire shelving tends to run 12 to 14 inches deep. Fixed wood shelves in a builder-grade closet are often 16 inches. If you have a reach-in, the total width might be 48 to 60 inches. If you have a walk-in, you have more real estate to plan across. Knowing these numbers before you order bins saves you a return trip.
The Homsorout bins measure approximately 15 inches long by 10 inches wide by 9 inches tall. That fits cleanly on most 12-inch-deep wire shelves and virtually all deeper wood shelves. The 6-pack lets you line up two or three bins side by side on a standard 48-inch shelf, which is usually exactly right for two or three category zones across one shelf. If your shelves run 16 inches or deeper, you can fit two bins front to back on the same shelf surface, which doubles your organization without adding any new furniture or hardware. That front-to-back stacking approach works especially well on a walk-in's upper shelves where you store things you do not need daily.
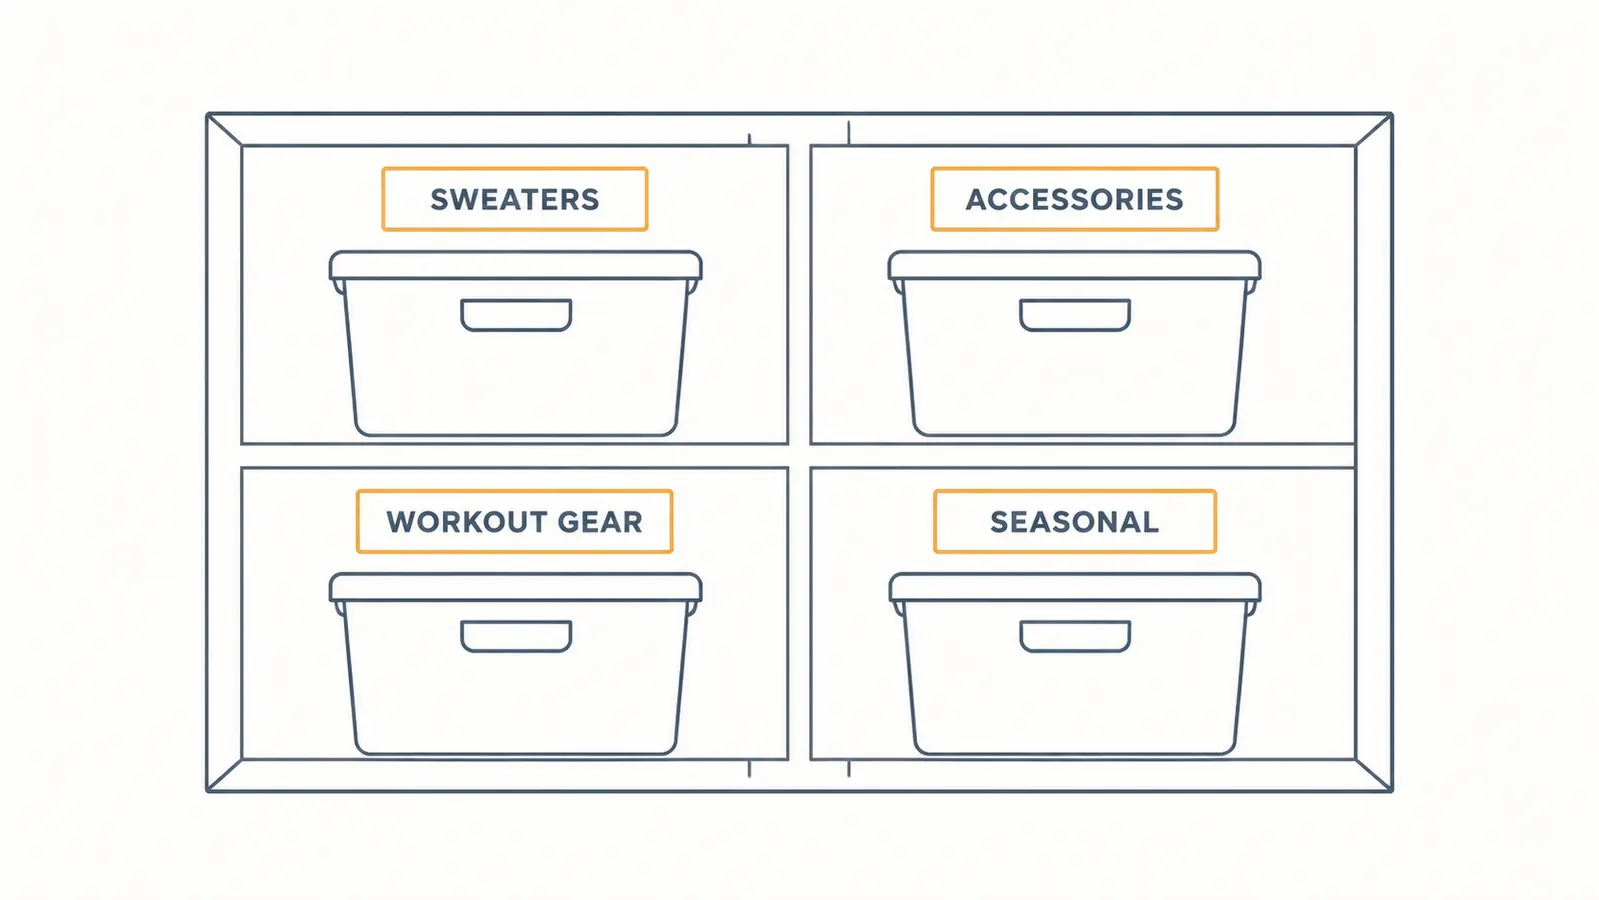
Step 3: Assign One Category Per Bin, No Exceptions
This is the rule that holds the whole system together. One category, one bin. No bin gets to be a catch-all. The moment a bin becomes a catch-all, you have a new junk drawer living on your closet shelf. Common categories that work well in a bedroom closet: folded tees or tanks, workout clothes, accessories like belts and scarves and hair ties, extra bedding like pillowcases and a spare sheet set, seasonal items like gloves and hats, and rarely-used items you want to keep but do not need to look at every day.
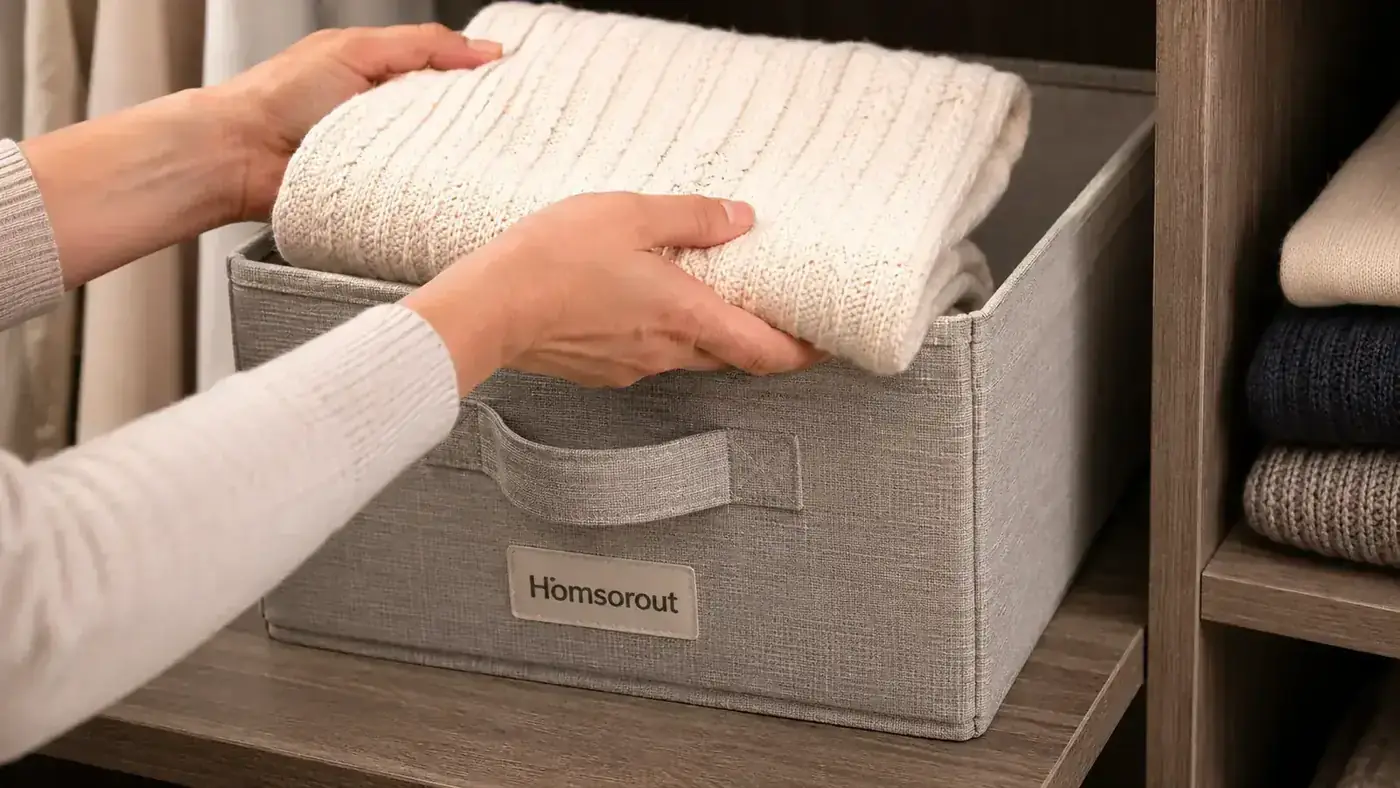
The Homsorout bins have open tops and soft fabric sides, which means you can see what is inside just by glancing in from above. That matters more than it sounds. If you have to unstack or open a lid to know what is in a bin, you will stop using the system within two weeks. Open-top bins with handles are forgiving. You grab, you look, you find the thing, you put it back. That is the full interaction. It actually happens because it requires zero extra steps.
If you are working with the full Homsorout 6-pack, plan your six categories before you start loading anything into the bins. Walk through your sorted piles on the bed and count your groupings. If you have more than six, combine the two smallest groupings or move the smallest category into a half-filled bin. If you have fewer than six, leave a bin open for the category that will inevitably grow once the system is running. That one empty bin is not wasted. It is planned capacity.
Step 4: Load Bins Heaviest on Low Shelves, Lightest on Top
Place heavier items, think extra blankets, jeans, or heavier workout gear, in bins on your lower shelves. Lighter items like scarves, socks, and seasonal accessories go on the upper shelves. This is not just about safety, though a heavy bin falling from a top shelf is genuinely unpleasant. It is about usability. Items you reach for every single day should sit at eye level or just below. Items you only pull out twice a year, like a bin of winter accessories during summer, belong up high where they are out of the way.
When loading each bin, fold items rather than stuffing them. Folded clothing stacks vertically so you can see every item in the bin at a glance rather than having a mystery pile. The file-fold method works perfectly here: fold each item in thirds lengthwise, then fold in half, and stand it upright in the bin like files in a drawer. You will fit more in each bin and be able to find anything without pulling everything out.
I used to fold my clothes perfectly and then watch the pile collapse the moment I pulled something out. The bin holds the shape of the category. That is the whole trick.
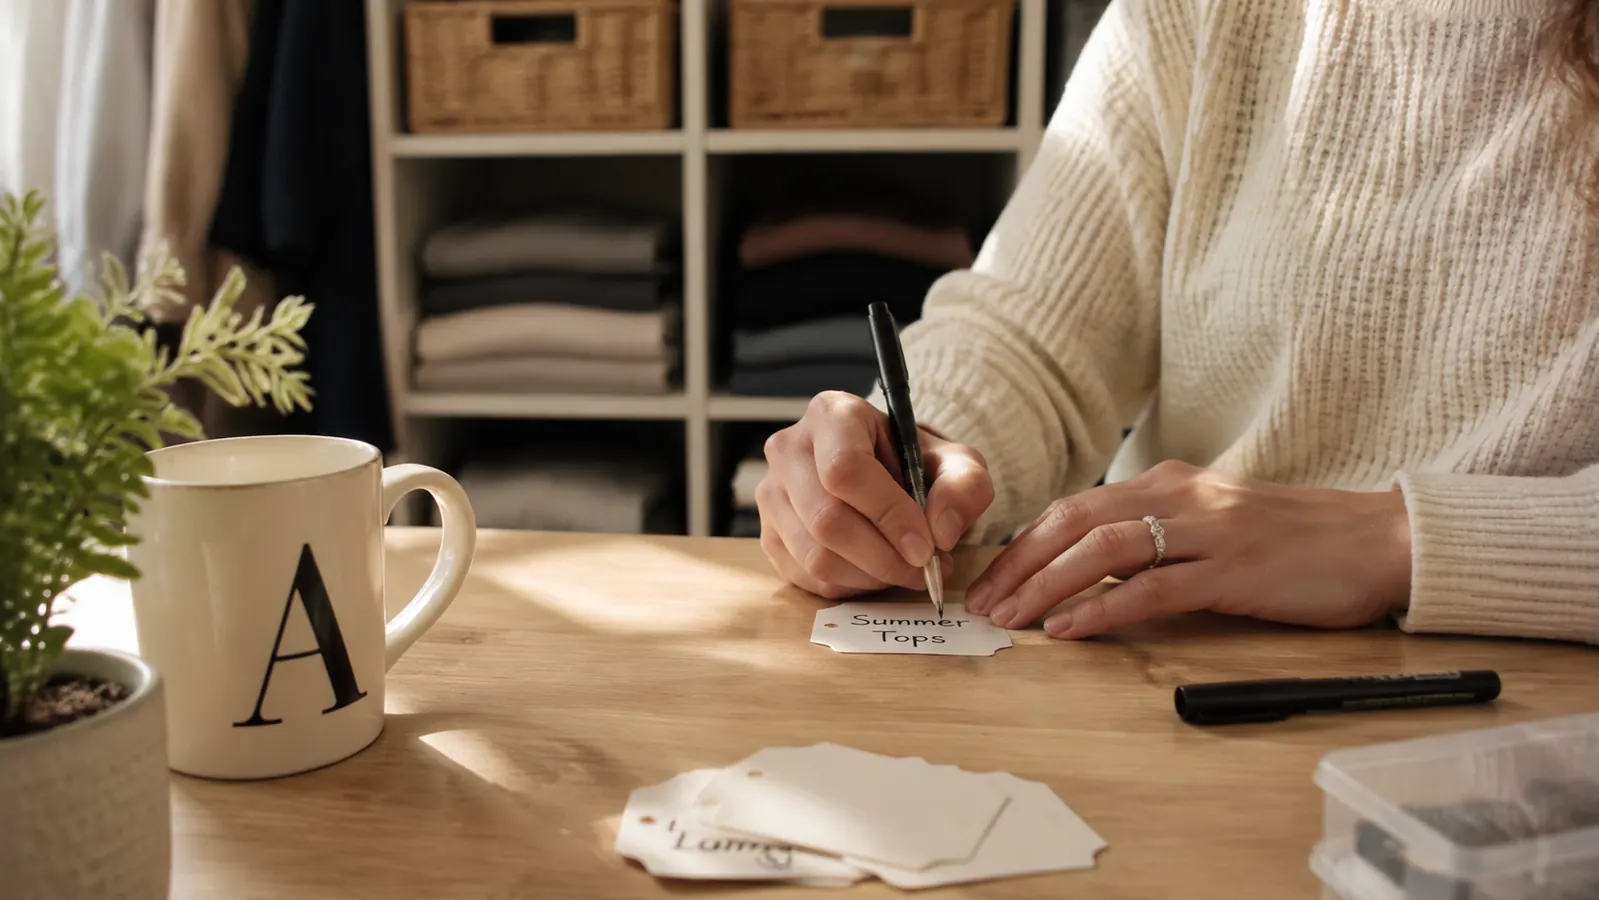
Step 5: Label Every Bin Before You Call It Done
I used to think labeling was optional. I was sure I would just remember which bin held what. I was wrong every single time, and not just for myself. Other people in my household did not help set up the system and had no idea what was where. Labels are not for you in the first week, when the system is fresh in your mind. Labels are for you at 7 in the morning when you are running late, and they are for everyone else in the house who did not participate in the organization project.
You do not need a label maker, though they are satisfying to use. A set of adhesive chalkboard stickers from a dollar store works great on fabric bins. Write the category name in chalk pen or a fine-tip marker and press it to the front of the bin at eye level. The Homsorout bins have a woven texture on the exterior that holds adhesive labels well without peeling. If you want something more flexible, fold a small card into a tag and slip it through one of the handle openings so it hangs visible on the front of the bin.
Once labels are on, step back and look at the full shelf. If the arrangement feels off in any way, rearrange now before the habit forms around the current layout. The first two weeks after setting up a new system are when the habit either sticks or breaks. Getting the placement right at the start is the most important long-term maintenance step you will take.
What Else Helps
Bins are the backbone, but a few small additions make the system hold up longer. Shelf liner prevents bins from sliding on wire shelving, which becomes noticeably annoying after the first few times a bin drifts to the front of the shelf when you grab something next to it. Non-adhesive liner rolls are inexpensive and cut to size in about five minutes. Cedar blocks or drawer sachets dropped into clothing bins keep everything smelling fresh and protect seasonal fabrics from moths when they sit untouched for months.
If your closet has a single high shelf above the rod, that is a common builder-grade layout, and the shelf is often underused because nothing stays put up there. Bins solve this immediately. Two Homsorout bins side by side on that shelf, labeled for seasonal accessories or guest linens, turns dead storage into actual storage. If you are working with a walk-in that has a long center island or floor space, the bins work on those surfaces too, not just on shelves. They stack two high without tipping.
One habit that will keep your bins from reverting to chaos over time: a five-minute reset every Sunday evening. Walk to the closet, pull out anything that does not belong in each bin, and put it where it actually lives. Rehome items that crept in during the week. Return things that migrated to other rooms. The whole reset takes five minutes because the bins give you a clear standard to return to. Without bins, there is no standard and the reset never happens.
If you want a deeper look at the product itself before buying, the full breakdown is in my Homsorout closet bins review, where I cover construction quality, handle durability, and how the bins hold up after repeated use. If you are still convincing yourself the investment is worth it, the 10 reasons closet bins change your bedroom article covers the full case for why bins outperform every other closet shelf solution I have tried. The short version is that bins with open tops, handles, and the right size for your shelf are the one product category that makes every other organizational effort actually stick.
Ready to stop rearranging the same mess and start using a system that holds?
The Homsorout 6-pack is what I recommend to anyone starting a closet shelf project from scratch. Six bins, built-in handles, rated 4.7 stars across more than 1,500 verified reviews. Check the current price on Amazon and see if the 6-pack fits your shelf count.
Amazon Check Today's Price on Amazon →